


.jpg)


.JPG)


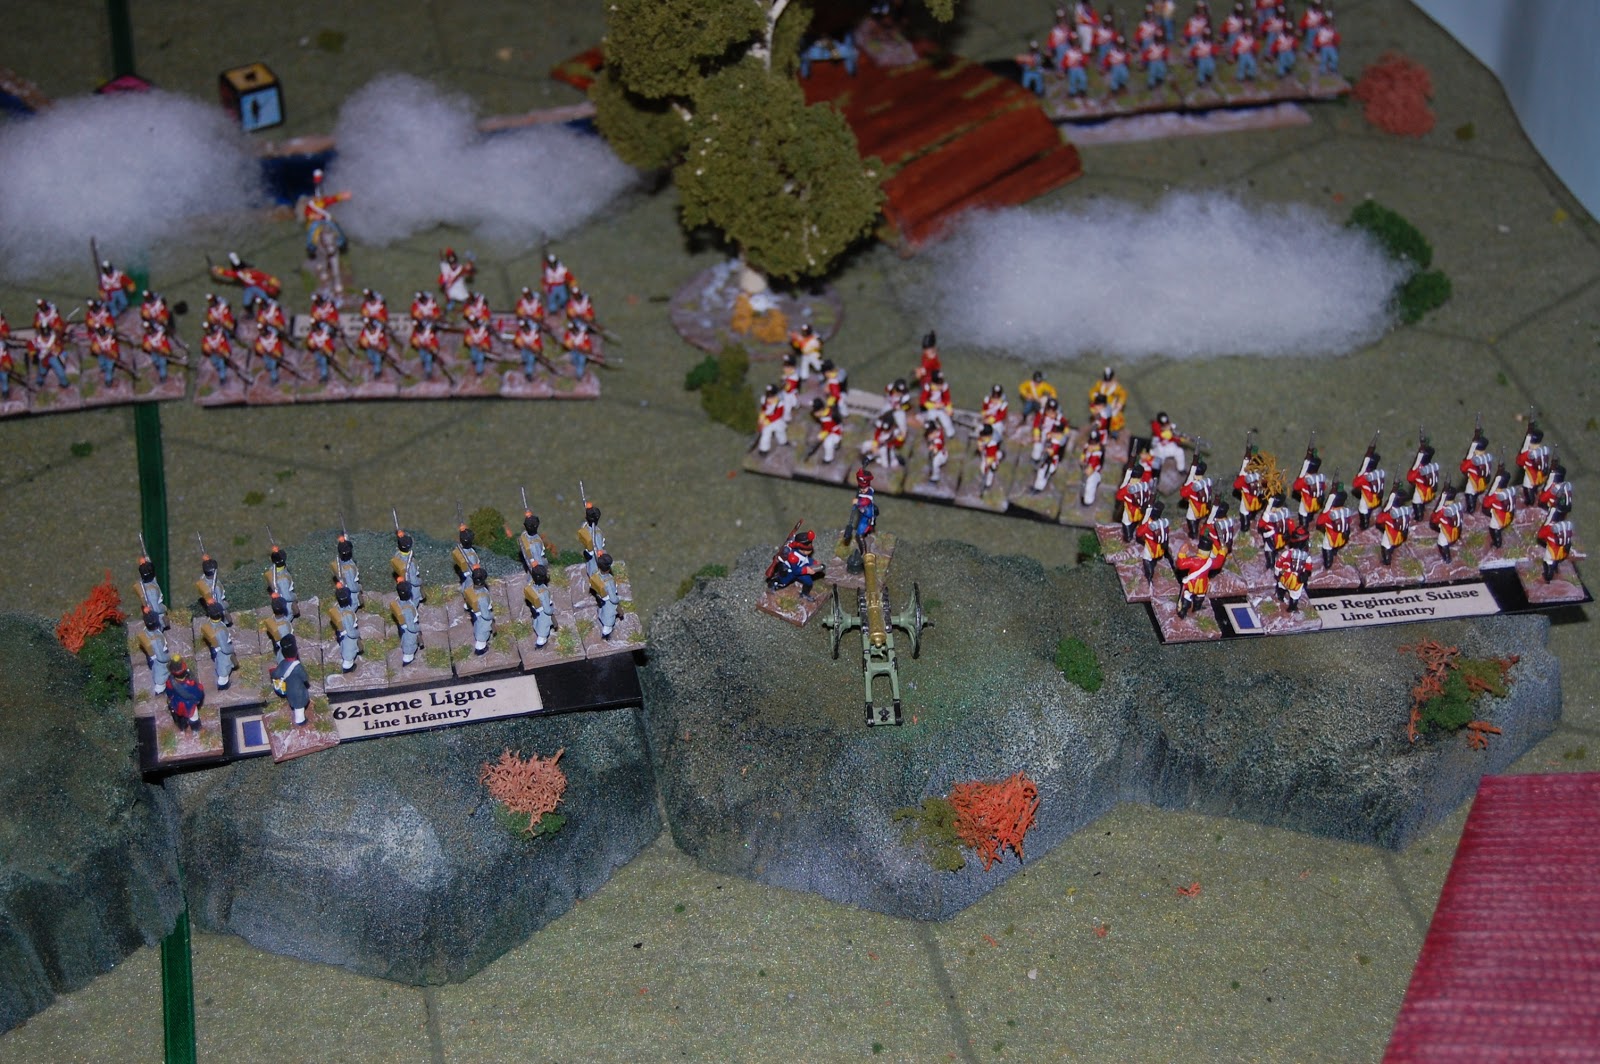
Portuguese dragoons closing in on the embattled centre
To recap - the Allied army under Wellington has pushed the French out of Spain. Marshall Soult has left a rearguard under Clausel to buy time for the evacuation of stores at Aire. The battle began with the allies crossing a fordable river to assault a French held ridge. The Portuguese infantry took the lead and smashed the French centre, which was looking very dicey until Savage stabilised the situation with his cavalry.

The Portuguese dragoons clatter through the smoke, crashing into the French chasseurs

...but they hesitate at the last moment (roll badly), laying themselves open to a counter charge (battle back) by the French cavalry.
The French cavalry charge immediately on Savage's turn and leave the Portuguese teetering on the verge of destruction. This was quite an interesting exchange as both players became quite fixated on it, using Scout cards to keep both units in play and try and build a hand for the next push.

But the Portuguese have a sting in the tail and down General Harispe.
It seems the poor chap will not live to rally to Bonaparte in 1815 after all. I notice in this picture that my modular river, while very modular and river like is not looking it's best, mainly because it keeps moving around. Perhaps if I attached felt to the bottom perhaps?

But vengence is swift...

...and terrible.

Reduced to half strength, the Chasseurs had better turn back and look to their rear.

In the meantime, the Dragoons have come back over the bridge to support the Neapolitans.

But a second squadron of the 7th Portuguese come across the bridge to dispute matters

The 17th French Dragoons take the Portuguese in the flank, while a confused battle rages amongst the squares and the Neapolitans in the centre
This was quite a tough battle in some ways as the Portuguese are not the
best troops and they were caught in square. However, the Neapolitans
are very, very bad and needed to hit the Portuguese while they were in
square if they were to stand any chance of victory. Savage was getting
desperate for cards to bring his infantry back into the line.

And the Portuguese promptly scamper back over the bridge followed by the 17th

The 17th then "threes about" and head back to the centre, where it is getting very confusing

But General Du Gourmand has finally managed to get his British infantry moving - and they start to cross the river.
This was a key moment, General Du Gourmand had been trying to get his British troops moving and they were having none of it for the most part. They were quite content to fight the battle to the last Portuguese. Savage had some good troops and could certainly dispute their crossing of the river. The problem was that if he was going to win - it would be in the centre. He would need to be either lucky or pray for sluggishness on Du Gourmand's part because he wouldn't be able to be in two places at once.
Savage prepares to recieve them.

The Kings Royal Halberdiers close in...

...and its all over.
Sadly for Savage who put up a good show, one treads a narrow margin if one is hoping for Du Gourmand to make mistakes. Savage had done well, coming back from one point to four in the early stages of the battle. The result was five - six at the end, Du Gourmand knowing that pussyfooting about would do him no good and went straight for the jugular.
A good game and definately one of the best scenarios in the Peninsular collection.
Really enjoyed the AAR, you both seem to have had a lot of fun and with it being so close it would have been exciting
ReplyDeleteIan
It was a good evening alright.
DeleteA great AAR. The Neapolitan army is indeed terrible. When the kingdom was founded Napoleon gifted it the Pioneers Noir, the worst regiment in the French army. Without any further training or re-equipping, it instantly became the best regiment in the Neapolitan army.
ReplyDeleteTerrible but...oh so pretty! :)
DeleteAll rather exciting really not to mention pretty. Good stuff.
ReplyDelete