


The Battle of Quatre Bras by Woolen
After a lot of tooing and froing, I finally managed to get the War Room up and running. I had promised my good friend General Creanor that he would take part in the inaugural game, during which we would open an extremely fine bottle of 1984 port that he gave me when we first got our house. Now as it happens I also happen to have a unit of Hinton Hunt Imperial Guardsmen that I bought as part of a consortium with Old John. These figures were part of the collection of a man who enjoyed playing with figures, but who never actually played with them. I intend to use these figures as the Old Guard at Waterloo, which will be their baptism of fire after nearly forty years on the sidelines.
However, I forgot that we hadn't played Qautre Bras and it seemed rude to play Waterloo without first playing Quatre Bras. The intention was to play both in an evening, but we didn't manage to get around to it. But we drank General Creanors excellent port and played a game with good friends.
The Old Guard can stay in their box for a few weeks more and we'll get another game. I think there may be another bottle of port somewhere.

Command & Colours: Quatre Bras map courtesy of ccnapoleonics.net/
For those of you unfamiliar with the Hundred Days campaign, you will find something more to your liking here.
The briefing that comes with the scenario is as follows.
Napoleon Bonaparte’s surprise march placed his army squarely between Blucher’s Prussians at Ligny and Wellington’s Anglo-Allied army assembling around Brussels. Napoleon concentrated most of his strength against Blucher, but ordered Ney and the II Corps to capture the vital crossroads of Quatre Bras to deny Wellington the chance to reinforce Blucher. Ney procrastinated and his attack did not get underway until two in the afternoon. The delay allowed Wellington to bring fresh allied troops to support the Dutch-Belgians and the Nassau Brigade that were thinly deployed south of the crossroads. The initial French advance was greeted with musket volleys, but the outnumbered Allied troops were forced back. The Allied units in the wood, however, managed to hold. Facing three infantry divisions and a cavalry brigade, the Allied situation was fast becoming desperate, but additional troops kept arriving and Wellington, now in command, directed them to key positions on the battlefield. Ney realized that the numerical balance was shifting in favor of the Anglo-Allies and that he could only capture and hold Quatre Bras by a desperate move. He ordered General Kellermann to lead his cuirassier brigades forward and break through Wellington’s line. The cuirassiers managed to reach the crossroads, but were driven back by close range artillery and musket fire. The arrival of the British Guards Division late in the day gave Wellington sufficient strength to launch a counter-attack that forced the French to give up all of their hard fought territorial gains.
The stage is set. The battle lines are drawn and you are in command. Can you change history?

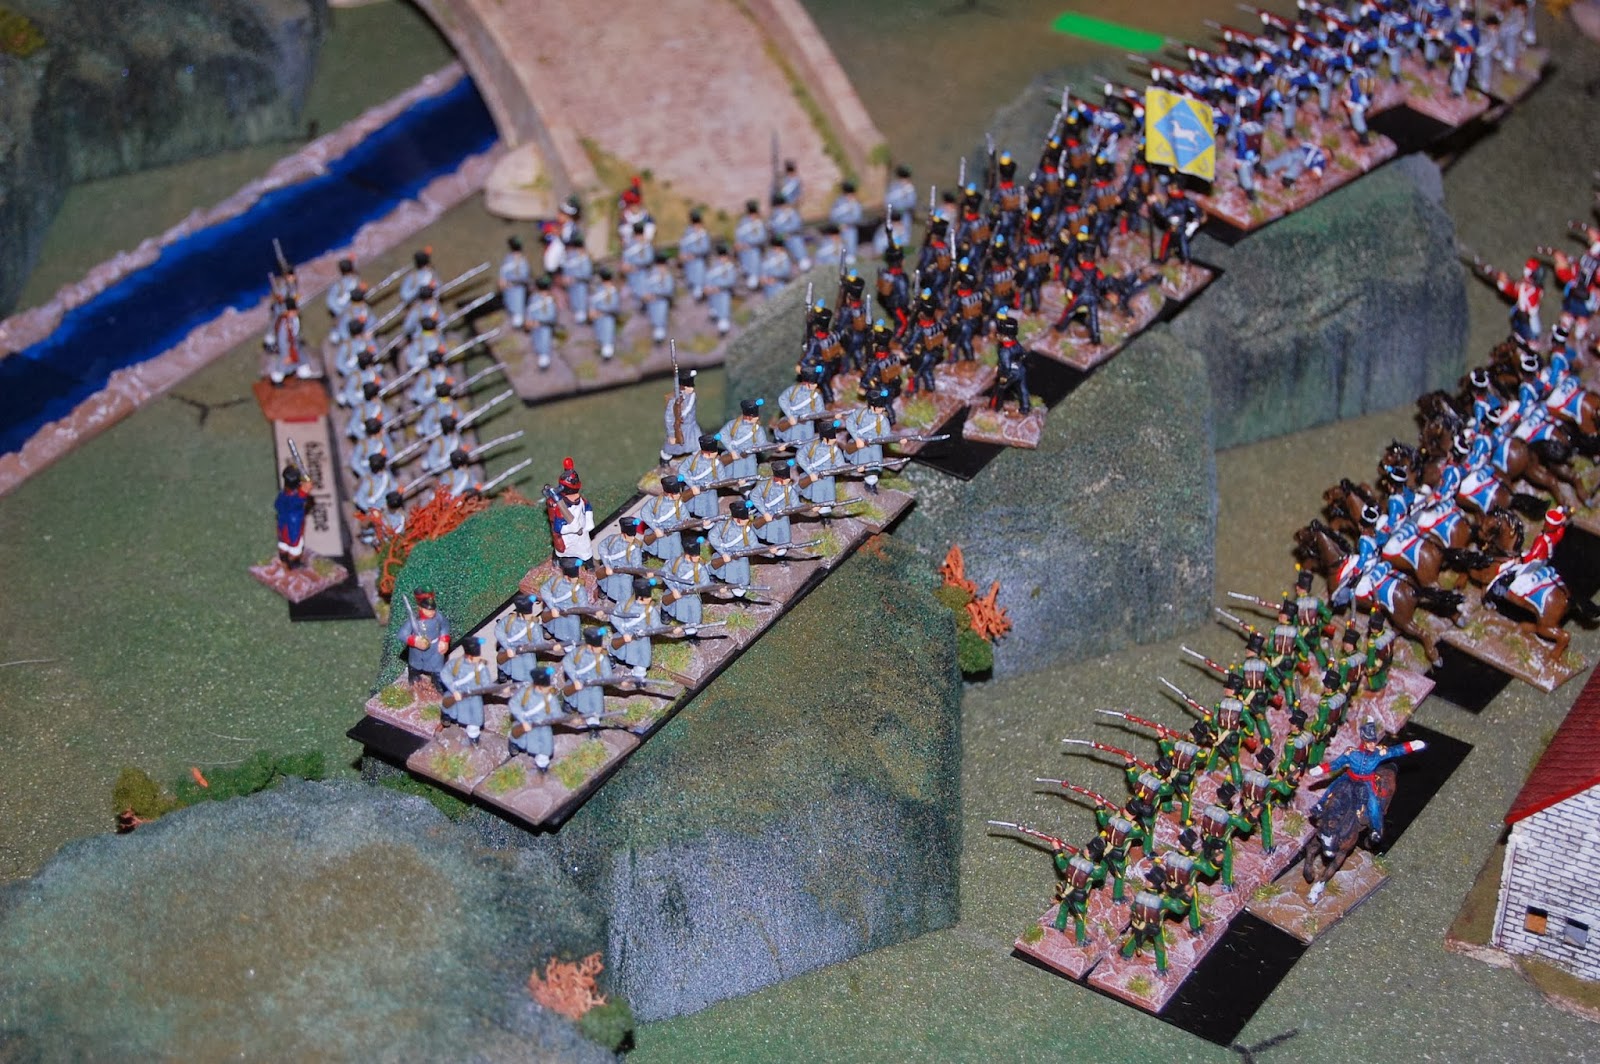
Donogh in characteristically agressive form attacks the Dutch-Belgian troops in the woods on the French left.

General Creanor searches in his hand for inspiration.

While Donogh seeks inspiration elsewhere

"Excellent" says Donogh.

The gift of General Creanor - unfortunately, I didn't decant it which meant that the later glasses were somewhat cloudy

French lights and the 8iem Ligne hit the Dutch militia with predictable results

The French left clears the woods of Allied troops, but the British Guards are moving into position.

At this juncture, Capability Savage arrives and takes over command in the centre.

"Bayonet Charge, read it and weep."

The French line before it rushes forward.

French columns crashing into the Allied centre.

We'll soon shift 'em off the ridge

"That chap, that chap right there - he offends me. Those trousers with that hat? The man is a monster."
Mr. Target arrives to assist General Creanor.

The French advance starts to shatter the Allied line.

Hitting the Brunswickers in the centre
And driving back the Nassauers on the right.

The Dutch manage to hang on the Allied right, but it's looking distinctly grim for the Allies.

The cork of General Creanors gift, just before I managed to cork it...
I really, really should have decanted it.

The Highlanders manage to retake the ridge and wipe out one of the advancing French columsn

The second battalion of British move up - these are Strelets Crimean Highlanders standing in for the chaps you saw at the beginning of this post (That's the Black Watch for those at the back. Yes, you Gow. Wake up and sit up straight boy. Wake Cordery up while you're at it. He's day dreaming.). Rated as British Grenadier Guards in Command & Colours Napoleonics, they are a very powerful unit.
And so with that image of the Black Watch charging into battle...
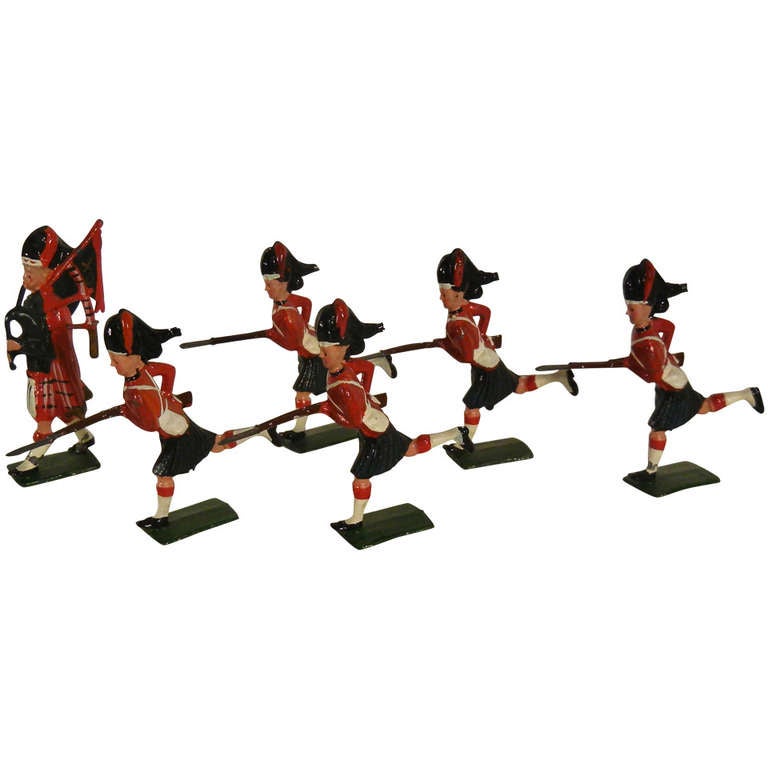
...or possibly this image of the Black Watch charging into battle.
We shall draw Part One to a close.
Looks and sounds like a fun game! An entertaining report, as usual, too. I like that parting shot of the Black Watch.
ReplyDeleteThey are rather fine aren't they? It's a shot of a Britains set, Mrs Kinch's uncle has one and I am terribly, terribly envious.
DeleteA suitable christening of your war room. That must have been the night when Mrs. Kinch was tweeting about watching TV in bed while the boys played below. It does look like it's going to be a near-run thing indeed, but I am sure the Duke is managing things with his usual aplomb.
ReplyDeleteSuitable indeed Padre - that was night to be sure.
DeleteYou'll have to find out what happens in the second half.
Great to see war room in action again and to see all the boys again too, looking forward to ACW bash, only a couple of weeks to go!!!!, and where was General Gorman? as he usually fills to picture, did he miss out on the port?
ReplyDeletecheers Old John
General Gorman had to stay home and do his homework sadly.
DeleteFirst of many I hope John.
Great to see war room in action again and to see all the boys again too, looking forward to ACW bash, only a couple of weeks to go!!!!, and where was General Gorman? as he usually fills to picture, did he miss out on the port?
ReplyDeletecheers Old John
Not sure if that is aplomb or port sustaining the Duke but its looking good. But, are sure that is actually the same room?
ReplyDeleteBtw, by an odd coincidence of the sort that keeps the Heart of Gold flying, 1984 is the year Kathy & I bought our first house.
I couldn't find aplomb, so I had to settle for serving some grapes with the cheese.
DeletePort and facial hair were the only things keeping the Duke together if you ask me.
1984 was a fine year then. Are you finished your house? Damned if I know when I'll ever finish mine.
Great report, great photos. Room looks very nice too, I look forward to part 2.
ReplyDeleteThank you very much Lee. The photos are always candid and never really show the figures off to best advantage, but I think the capture the mood of the game.
DeleteAs for part two? Your wish is my command.